
This weekend I tried rabbit skin glue for priming canvas and was pleased with the result. For years I was hesitant to test this old-time technology, but having been disappointed with PVR sizing I decided to give it a go. Plus with the closing of Jerry’s on Fourth Avenue I was able to pick up a package of rabbit skin glue on sale along with some heavy duty stretchers and a roll of hemp that was originally part of the New York Central inventory. I liked the hemp because of its lovely bumpy texture compared to cotton or linen.
I never liked pre-stretched canvas as I felt it was like cheating, plus you don’t have much choice as to the surface. So since I started painting in oils I’ve used either panels or home stretched canvas which I prime and gesso myself. Rabbit skin glue always intimidated me because of the prescribed ritual of soaking and heating, and its also supposed to smell really bad. So instead I’ve been using PVR sizing which many artists recommend as a ‘modern’ substitute. But PVR never really gave a satisfying result.
They say you need to apply PVR to both sides of the canvas, which means you paint it on before it’s stretched. But I was never able to stretch it tight enough, and there were always slack spots. I tried stretching the unprimed canvas first then applying the PVR. When wet with freshly applied PVR it looked like the surface was tightening up, but disappointingly it became loose once it dried. So either way I had a droopy canvas which required banging corner keys into the slots in the back.
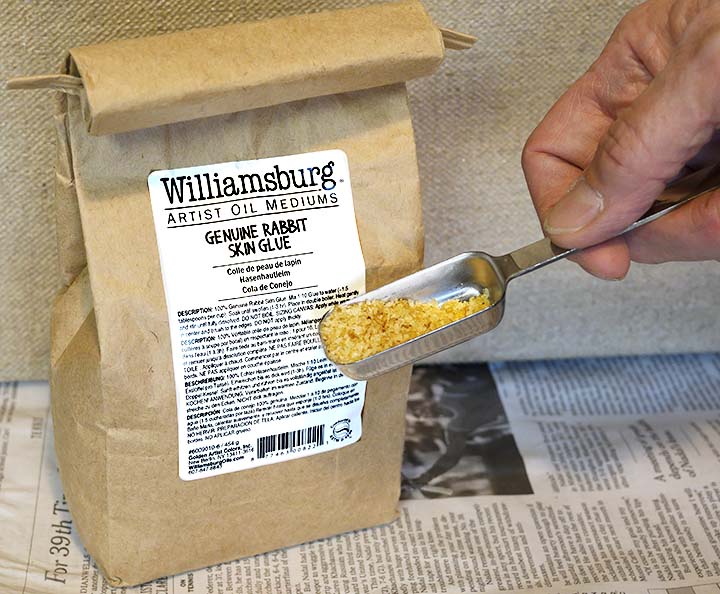
Enter rabbit skin glue, heretofore referred to as RSG. RSG is composed of pure collagen derived from the skin of rabbits, and has been used since the renaissance to seal and protect canvas. I watched a bunch of videos on how to use it, and there are many recipes. One thing you need is a double boiler, so I went to the nearest Goodwill store and bought some old pots to improvise. The brand I picked up was Williamsburg – it’s a brown paper bag filled with yellowish granules.
First I measured two tablespoons into a cup and a half of water and let it sit overnight (probably overkill because for the second batch I let it sit for 3 hours and it worked fine). The granules swell up and become clear. Next I put the mixture in my double boiler and once warmed up the granules melt leaving a viscous yellow fluid. And guess what – no smell! Now it was ready to apply.
I painted the mix on the stretched hemp and it dried in less than two hours. The hemp surface shrank and I was amazed at how tight it became, and it didn’t loosen up when completely dry. When I flicked it there was a pleasing, resounding BooOOooing! I never got that with PVR. So I applied a second coat of RSG and let that dry, and next I will give it two coats of Winsor Newton Oil Painting Primer. The remaining RSG congeals into a jello-like substance that can be stored in the refrigerator and reused.
So fellow artists, I hope you enjoyed this little art-adventure with a new-old technology as much as I did. When I start painting on it I’ll show my results on-line.
* * * * * * * * * * * * * * * *
Related posts:
Another Art Supply Store Closes
A Customized Bamboo Pen (How-to Video)
Review of a Vintage Winsor Newton Travel Palette
How to Build a Custom Plein Air Watercolor Palette (How-to Video)
End of an Era: Pearl Paint Closes
Rediscovering My Art Supplies in the Arizona Desert
A Plein Air Setup for Large-Scale Urban Sketching
Combining Art and Medicine
p1f7hi
jagfzi
bvn471
6i7w9q
15ydt9
vfcjxz
h8whi0
fpfgtw
9fguip
l8d8m7
x7aeho
oxsfve
gant65
hf7rdo
ibel2t
vmvebr
copb0t
u5sm0i
sdc1rc
zcp5ef
y5v24i
6trpt2
l85277
oljzg8
buekng
secwzx
4mijs7
8oj9id
fezj36
xyvj6s
p0g0pj
6iz2rc
ocuqyc
dap30m
oh0pjp
3jgng2
dvhqgw
2lfc8c
fq4wa1
jz31v0
ctg4g8
4br56y
5z4wnl
cjeknd
When I used RSG I basically soaked the fabric which only required one side painting and it went completely through. If you use thick fabric you may need to soak both sides.
Hello,
Do you usually paint RSG on both sides?
‘
Thanks,
Chris